Choose your viewer type
Set your role once and we will tailor the guidance across SIP University.
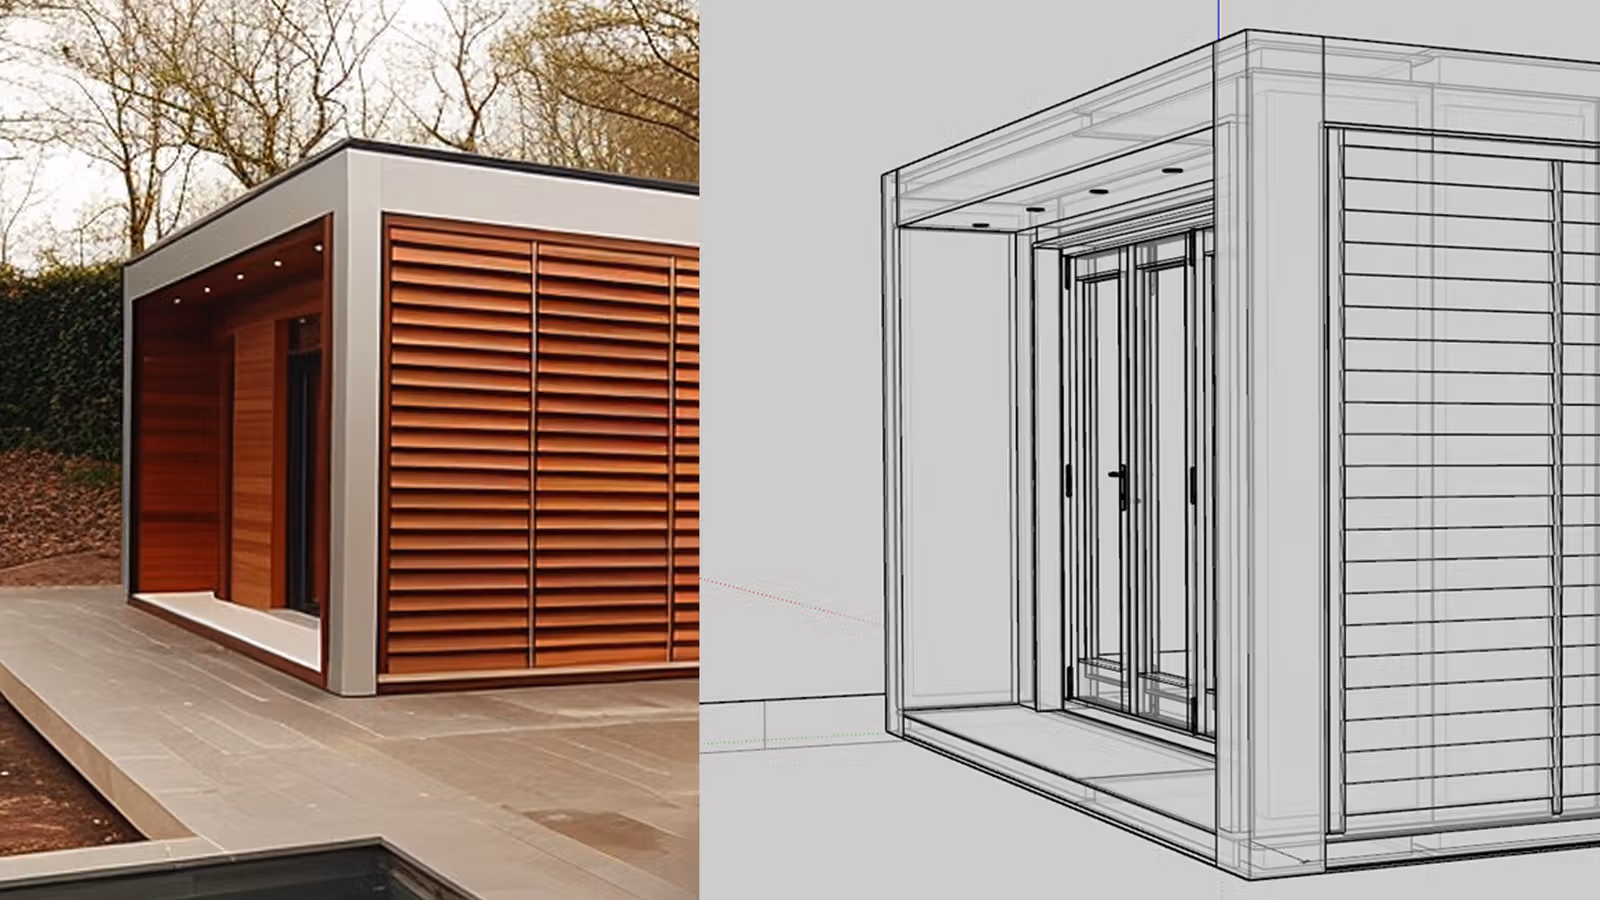
Design that saves days
Design works best when the layout follows a clear grid and load paths are mapped early. Off-grid bays and awkward openings multiply cuts and grow the pack. Snap to a 1200mm rhythm and the kit tightens up. UltraSIPS can sanity-check the grid early so you avoid rework.
Design decisions lock the kit, so early clarity protects cost, lead time, and site workflow.
Start with the grid
Think in panels, not studs. SIPs work best when you align wall lengths and roof spans to standard panel widths. That means fewer cuts, cleaner joints, and faster installation.
Load design charts: pick the right table
Load design charts keep you honest. In the UK, wind exposure, snow load, and roof pitch all change what a panel can do. Use the charts for strength and deflection, and confirm which combinations are acceptable for walls, floors, and roofs.
Spline connections: choose the right joint
Splines connect panels and carry load across joints. The right spline balances structure, thermal performance, and speed of install.


Panel-friendly architecture
SIPs love simple geometry. The more you align the form to panel sizes, the less waste and on-site modification you face.
Floor SIPs vs joists
Floor SIPs can speed the shell, but they are not always the best answer. Decide based on span, loads, and service routes.
Architect or designer?
Different roles own different decisions. You need a clean handoff so the SIP design does not drift from the architectural intent.
Design considerations that move the kit
The details below change the cut list and the cost. Bring them forward, not after the panels are drawn.
SIP CAD outputs
The right drawings keep everyone aligned: architect, factory, and site.
SIP designer decisions
SIP designers make a series of linked calls that drive cost, performance, and install speed.
Wall-to-floor connection
The wall-to-floor detail carries load and sets airtightness. Choose the detail that fits the build.
Insulated rim SIP
Rim details are common leakage points. Choose a detail that keeps insulation continuous.
Wall corner connections
Corners are load paths and airtightness zones. Pick the detail that fits the structure.
Interior wall connection
Interior partitions can be structural or non-structural. The detail changes the kit.
Hanging floor detail
Hanging floors save height but need clear load transfer.
Bevel cut top of wall
Pitched roofs need the right bearing detail to keep panels square and sealed.
Point loads
Point loads are where panels can be overstressed. Spread the load and define the path.
Load transfer: two strategies
Load transfer can go through continuous wall lines or be handed off to beams. Decide early.
Lateral forces on walls (wind)
Wind and racking loads dictate splines, hold-downs, and nail schedules.
Tall walls
Tall walls need extra attention to stability and deflection.
Doghouse dormers
Dormers are the definition of custom. Decide whether they are panelized or framed.
Ridge or purlin beam material choices
Beam choice affects weight, cost, and lead time.
Ridge details
Ridge details affect air sealing and structure.
Roof details
Roof panels can be vented or unvented depending on climate and build-up.
Internal valley beams
Valleys need clear drainage and solid structure.
Roof penetrations
Penetrations are leak risks. The best solution is to design them into the panel pack.
Extreme engineering
Some designs are beyond a standard kit. Know when to involve structural engineering early.
Standard detail pack (reference)
Need the full UltraSIPS standard detail drawings? View the reference pack here: UltraSIPS Standard Details.
Design checklist
- Align walls to standard panel widths.
- Mark openings early and keep them on-grid.
- Choose splines based on load, not habit.
- Validate spans and deflection with manufacturer tables.
- Confirm roof details, penetrations, and beam choices before manufacturing.